Note: Before beginning these steps be sure to have both the Dx1 Accounting Application and the current and correct Quickbooks file open.
Part 1: Reconciling and posting to Quickbooks
Open both the Dx1 accounting application and Quickbooks.


From the reconciliation screen in the DX1 Accounting application verify that all entries are clear. Click on the check all box located next to the Accounting Name in the upper left hand corner.
Click Complete Reconciliation

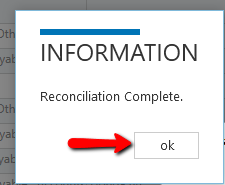
A new box will show if reconciliation was successful. Click the OK button
5. From the menu on the left hand side click on Posting.

Note: With the Dx1 Accounting Application reconciliation and posting can only be done in order by date. ( example: if the last date reconciled was the 24th a user cannot reconcile or post the 25th unless the 24th has already been posted to Quickbooks.) Multiple days can be posted at once but must be done in date order.
Click Post to Accounting in the upper left hand corner.
Note: If the user is posting a bunch of entries from one day or several days worth of entries at once it may take a few moments to a few minutes as those entries are being pushed over to the accounts in Quickbooks.
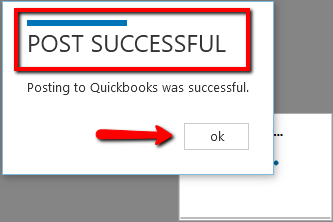
Once the entries have been pushed to Quickbooks a Post Successful box will appear. Click OK.
Part 2: Verifying deposit amounts using Dx1 reports
Dx1 provides reports that allow a user to verify the amounts that have been sent over to Quickbooks. Many dealers will check the numbers found in these reports before actually going through the deposits process in Quickbooks.
Under Accounting click on the Reports tile

Choose Cashier Reconciliation by MOP

Change the Dates to reflect the day that has been posted to Quickbooks then choose View Report
All Methods of Payment taken for the date range will show.
MOP Name: The Method of Payment that was recorded by Dx1
Amount Received: The total dollar amount for that Method of Payment
Invoices: the number of invoices that were paid for with the Method of Payment

Click on the plus mark next to the number of invoices to see a breakdown of each invoice

To see complete details on each invoice click the plus mark

Part 3: Making Deposits in Quickbooks
From the main Quickbooks screen click on the Record Deposits icon

A box will appear showing the most current date that deposits can be made for. Once a check mark is placed next to the entry the amount of the deposit will show based on the dollar amount of the entry being added. Once all entries have been checked for deposit click the OK button in the lower right hand corner.

The Make Deposits screen will appear again showing the amount to be deposited to the bank account created by the dealership. Click Save and close in the lower right hand corner.
