Note: Only those with the proper permissions may make these changes
Click Slideshow Management

Scroll down to the bottom of the screen. Users can make the following changes:
Click the Edit pencil next to each image

Edit options for the image:
Display in Slideshow: Thumbnail images of all uploaded images display for easy management. Sizes and expiration dates display as well as indication of OEM promotional images with yellow highlighting in the back.
Title: Any additional information about the image
Start and End Dates: How long the image will be shown in the slide show ( example : Holiday promotion slides that will need to go away after the season) Images will be deactivated and hidden from web visitors, but will remain available for use. The image can be deleted or reactivated for display at any time. This is an optional setting - if no dates are added, the image will display indefinitely.
Link Addresses: Easily add a URL to the image that when clicked, will take the consumer to that address whether inside the dealer's website or to an outside page. this is also an optional setting.
Click Save when all needed changes are made

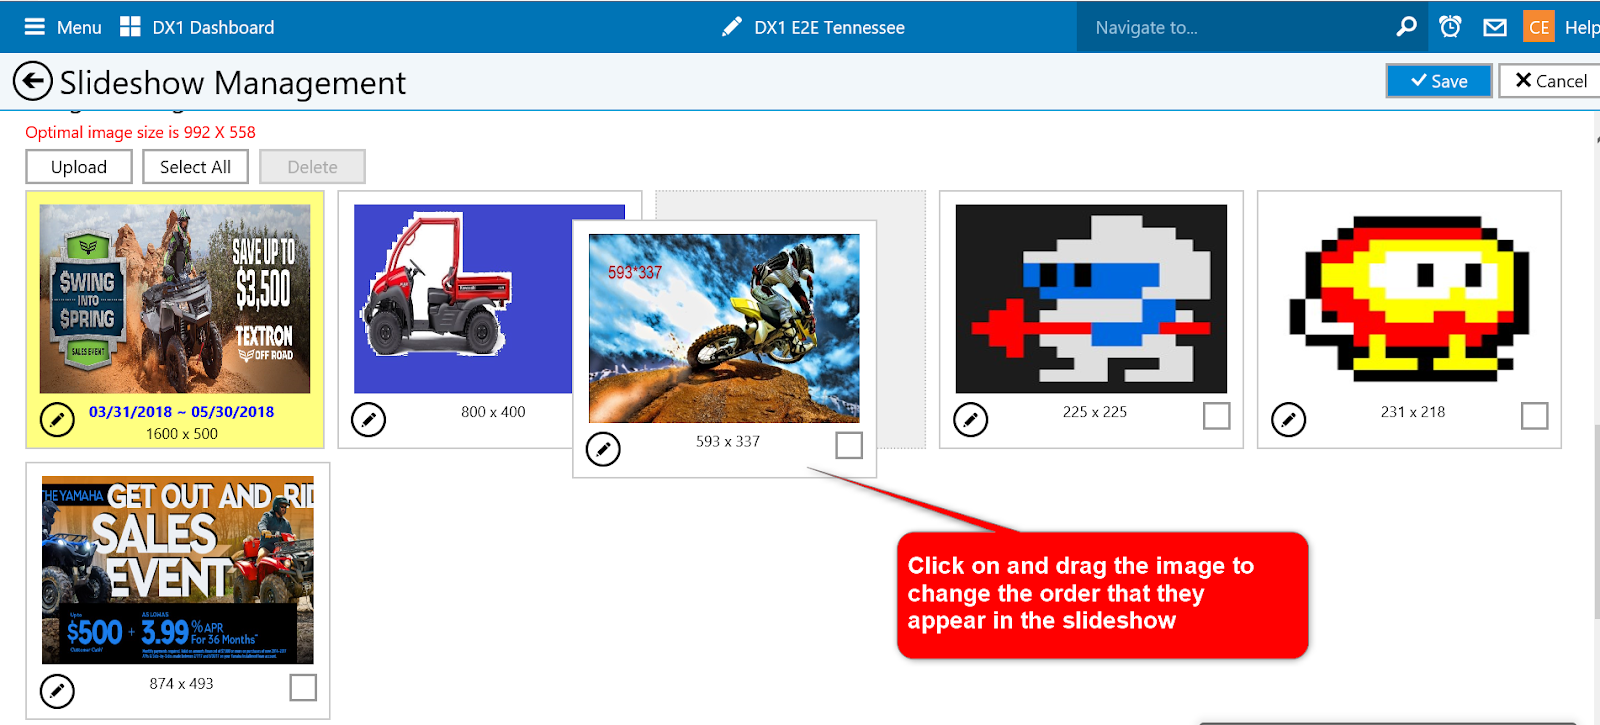
In the display area sizes and dates are shown with each image for more information and better management. There is also the ability to delete images simply by checking the delete box on each image and selecting delete at the top. You can delete multiple images at once.

Before uploading images to a slideshow the Optimal image size will be shown in red

Click the Upload button, before adding images DX1 will remind the user of the Optimal image size at the top of the box. Users can upload multiple images at one time.

Double click on each image from your PC that needs to be loaded into the slideshow.

Each image will show in the box and the total number of files to be uploaded will show in the lower left hand corner. Click the Upload button in the lower right hand corner.

Click the Proceed button to confirm the image being added. If your uploaded image is within the suggested optimal size simply click Proceed to upload your image. below is what the user will get if the image is the optimal size for the website.

Once all images have been adjusted click the Upload button

The images will now show in the list

Note: Once images are loaded the user may click on and drag the image to change the order that they show in the slider.
Users may scroll up to the top of the page to get a preview of what the images look like in the slideshow itself, If the user wants to click the View on Website button they will need to click Save first.
